
オブジェクトの角の処理として、フィレットや面取りはよく行う作業になります。
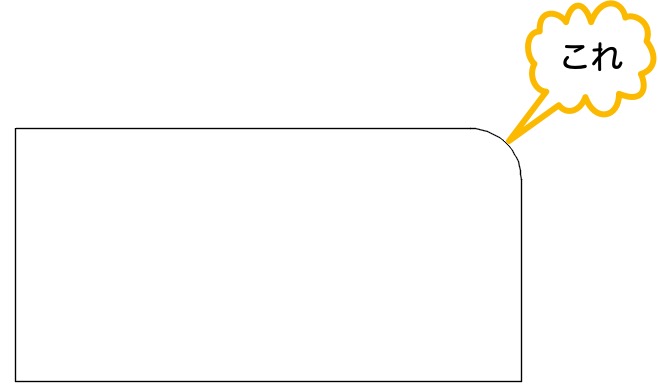
フィレットというのは、以下のようにオブジェクトの角を丸めることです。
面取りというのは、以下のようにオブジェクトの角を直線で切り取ることです。

では、それぞれの使い方を見ていきましょう。
フィレット[FILLET]コマンドを使用
フィレット[FILLET]コマンドで、フィレットを行えます。
その基本的な使い方を見てみましょう。
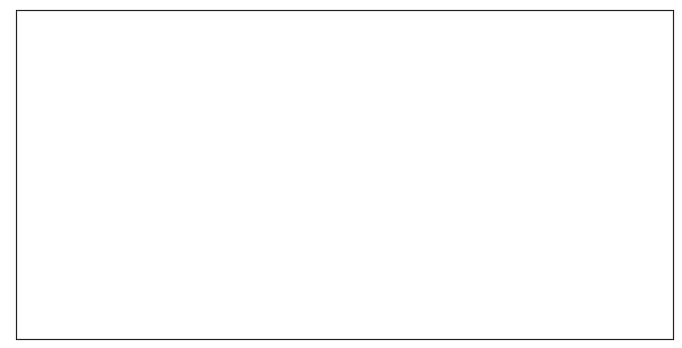
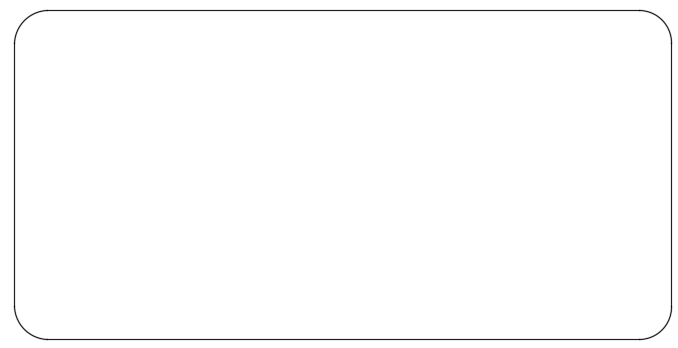
まずは、フィレットを行うオブジェクトを作成します。
例として、200 x 100 ぐらいの大きさの長方形がいいでしょう。
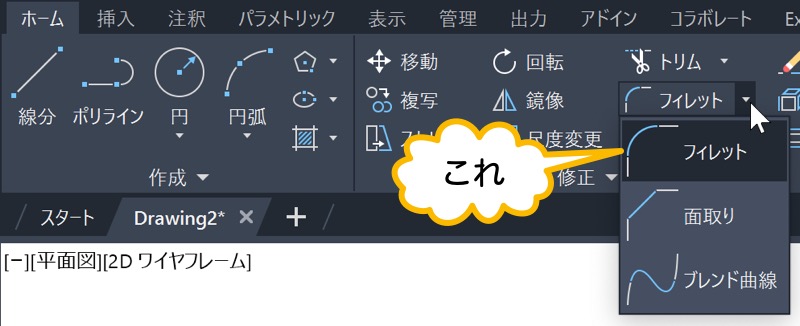
つぎに、フィレットコマンドを実行します。
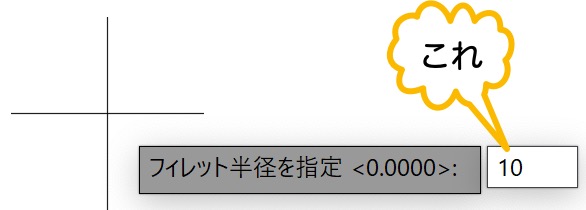
半径 をクリックします。
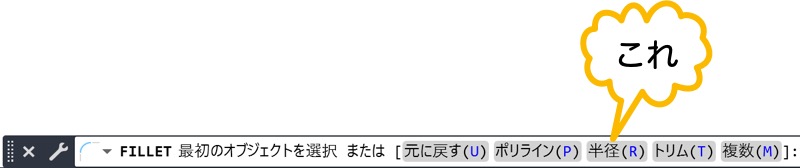
フィレットの半径として 10 と入力します。
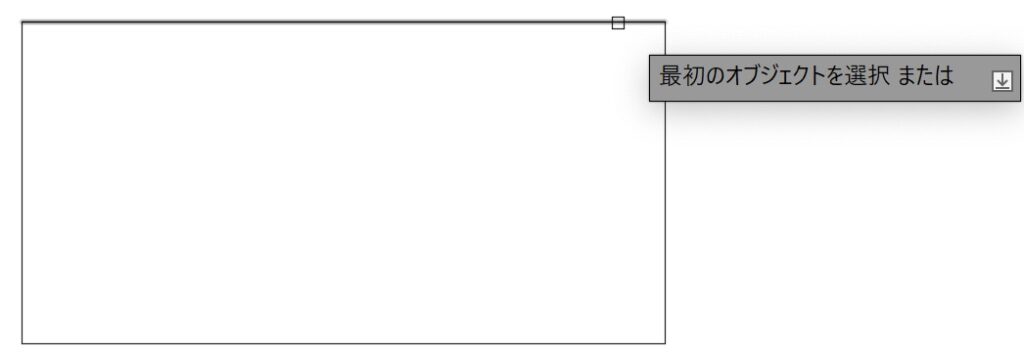
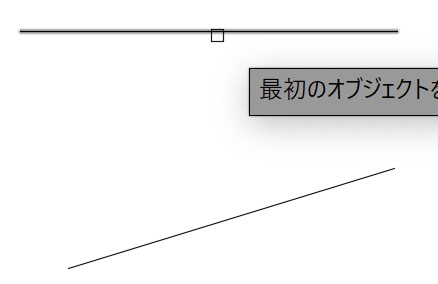
フィレットしたい部分の、最初のオブジェクトを選択します。
2 つ目のオブジェクトを選択します。
初心者
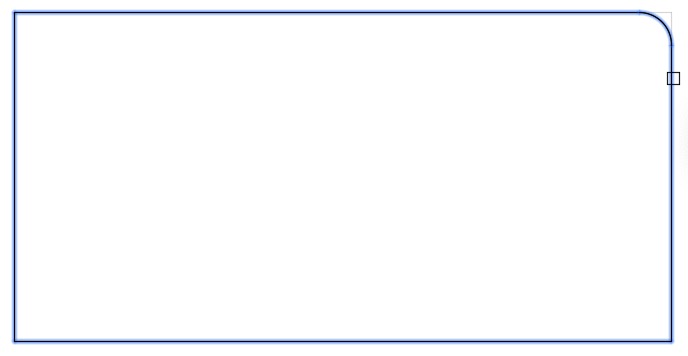
カーソルをオブジェクトの上に持っていくと、どのようにフィレットされるかプレビューされます。
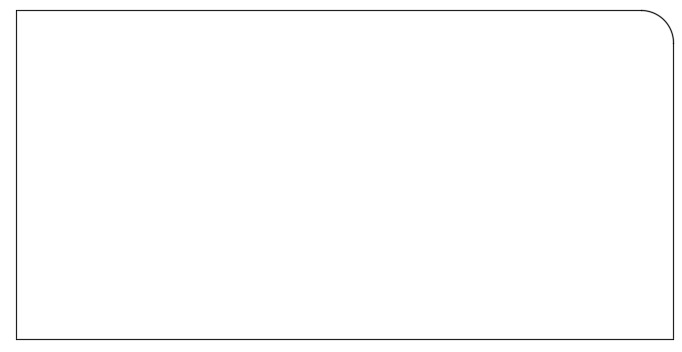
これで、長方形の右上を半径 10 の大きさでフィレットできました。
ポリラインの各頂点を一度にフィレット
ポリラインの場合は、各頂点を一度にフィレットできます。
まずは、Ctrl+Z を押して、さっきおこなったフィレットを元に戻します。
フィレットコマンドを実行します。
半径 をクリックします。
フィレットの半径として 10 と入力します。
初心者
さっきCtrl+Z を押して元に戻したので、フィレットの半径を設定した内容も元に戻っています。
なので、ここで再度設定しています。
元に戻さずに、再度フィレットを行ったときは、前回設定した半径が記憶されているので、再度設定する必要はありません。
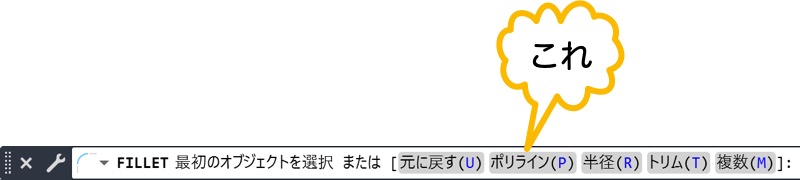
ポリラインをクリックします。
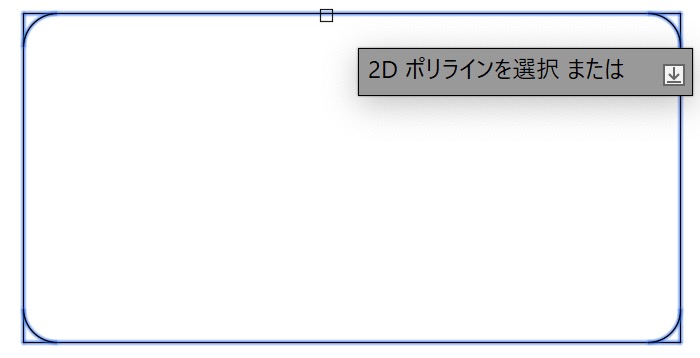
ポリラインを選択します。

これで、ポリラインの各頂点を一度にフィレットできました。
フィレット コマンドのトリム オプション
フィレットしたときに、トリムを行うかどうかの設定ができます。
それがトリム オプションです。
初期設定では、トリムの設定になっています。
非トリムにしたときに、どのようになるのか見てみましょう。
まずは、200 x 100 ぐらいの大きさの、長方形を作成します。
フィレットコマンドを実行します。
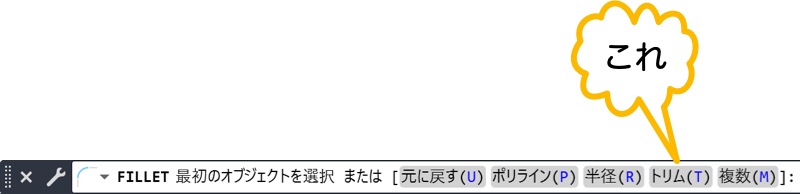
トリム をクリックします。
非トリム をクリックします。

ポリラインをクリックします。
ポリラインを選択します。
これで、長方形の角がトリムされないで、フィレットされました。
フィレット コマンドで、オブジェクトを延長したりトリムする
フィレット コマンドを使用して、2 つのオブジェクトを延長したりトリムして、接続できます。
どのようなことか見てみましょう。
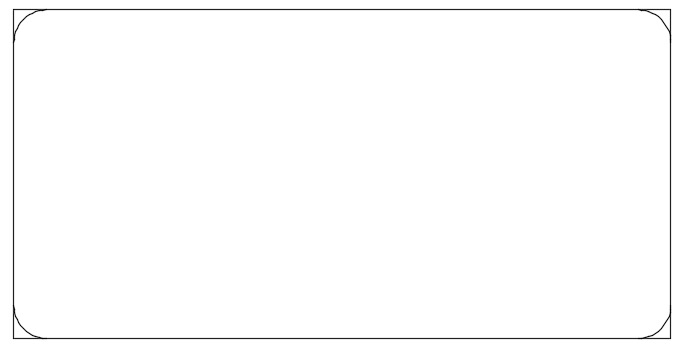
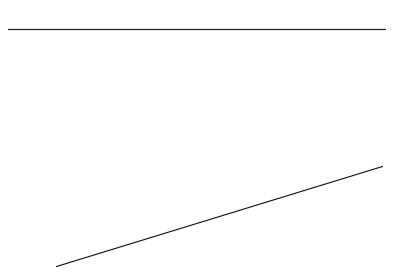
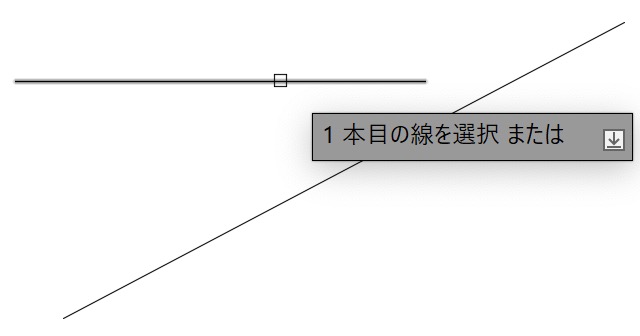
適当な 2 つの線分を作成します。
フィレットコマンドを実行します。
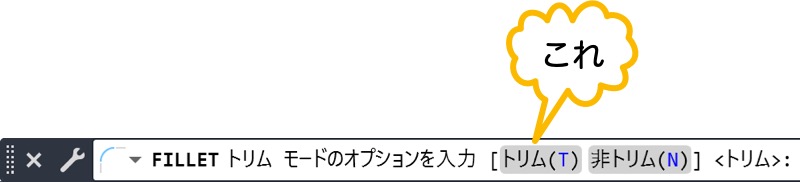
さっき、非トリムの設定にしていたので、トリム → トリム をクリックして、トリムの設定に戻します。
メモ
このまま 2 つの線分を選択すると、フィレットされます。
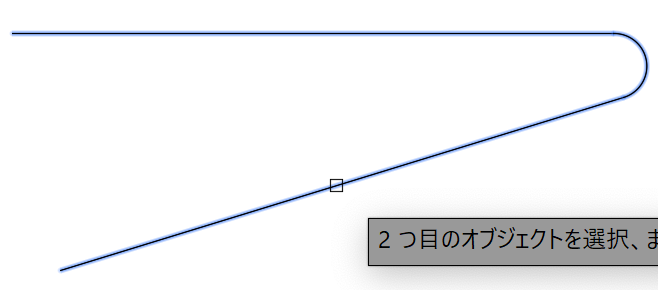
Shiftを押しながら、1 つ目の線分を選択します。(※ 選択した後もShiftは押したまま)
Shiftを押したまま、2 つ目の線分を選択します。
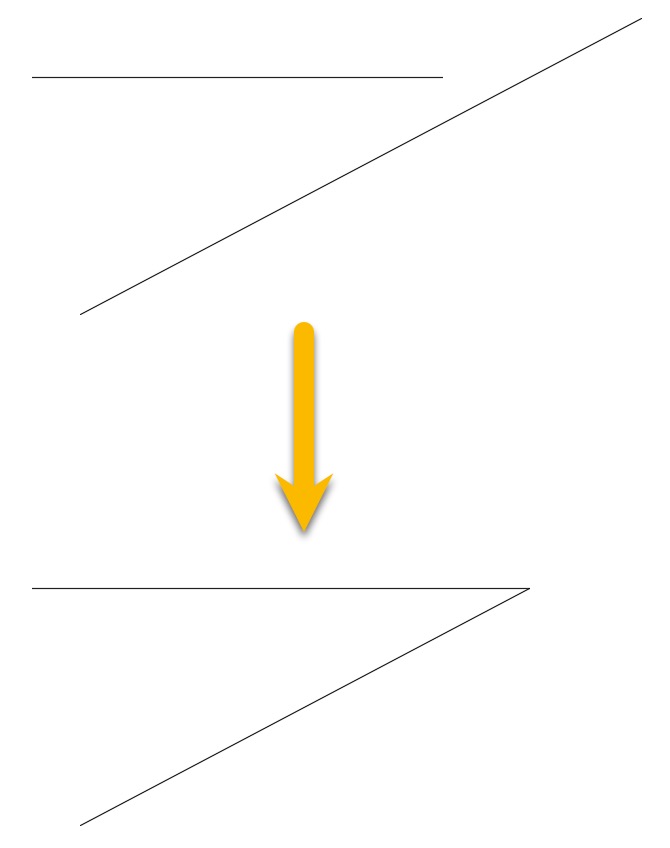
すると、2 つの線分が延長されて接続されます。

メモ
以下のような図形の場合は、ひとつの線分が延長されて、もうひとつの線分がトリムされます。
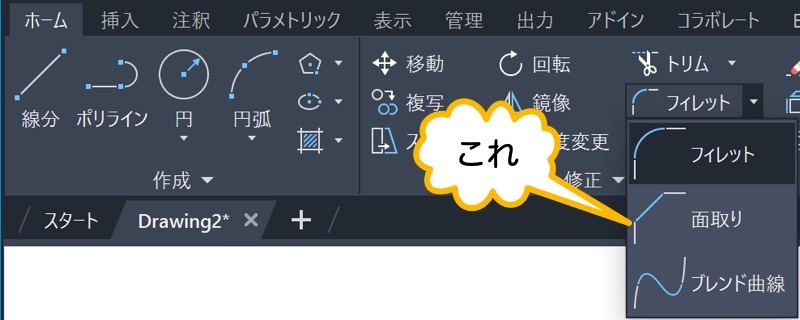
面取り[CHMFER]コマンドを使用
面取り[CHMFER]コマンドで面取りできます。
その基本的な使い方を見てみましょう。
まずは、200 x 100 ぐらいの大きさの、長方形を作成します。
面取りコマンドを実行します。
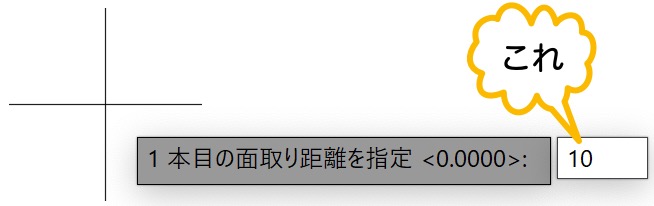
距離 をクリックします。
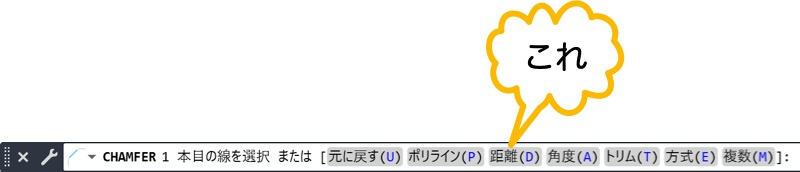
1 本目の面取り距離を指定 に対して、10 と入力してEnterを押します。
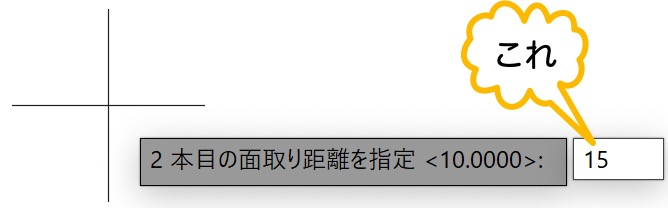
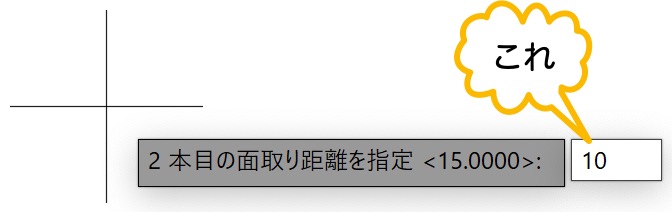
2 本目の面取り距離を指定 に対して、15 と入力してEnterを押します。
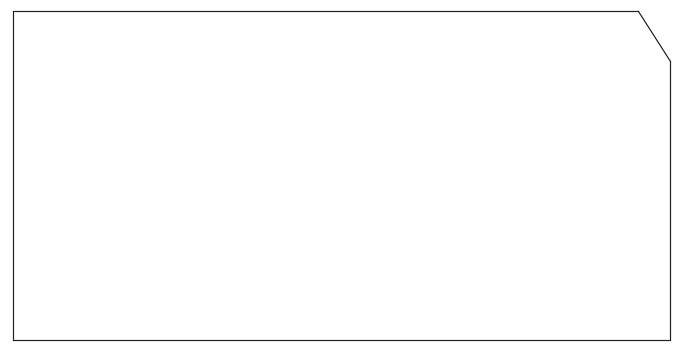
1 本目の線を選択します。

2 本目の線を選択します。

これで、面取りを実行できました。
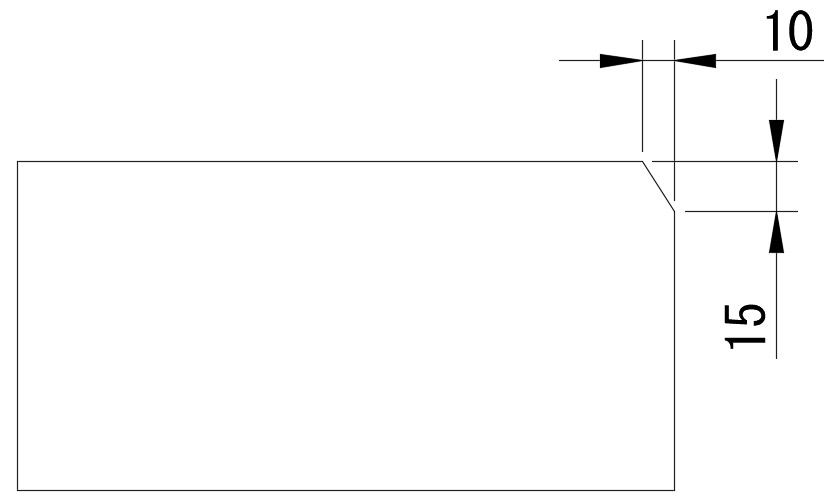
1 本目として指定した線が 10 切り取られ、2 本目として指定した線が 15 切り取られています。
ポリラインの各頂点を一度に面取り
ポリラインの頂点を、一度に面取りできます。
200 × 100 のポリラインで描かれた長方形を面取りしてみましょう。
面取りコマンドを実行します。
距離 をクリックします。
1 本目の面取り距離を指定 に対して、10 と入力してEnterを押します。
2 本目の面取り距離を指定 に対して、10 と入力してEnterを押します。
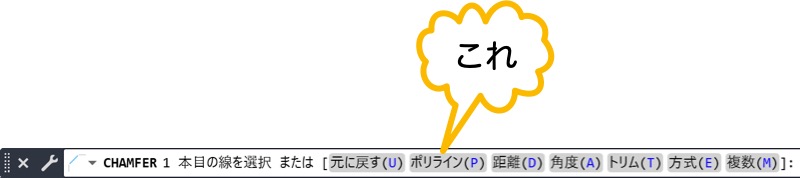
ポリライン をクリックします。
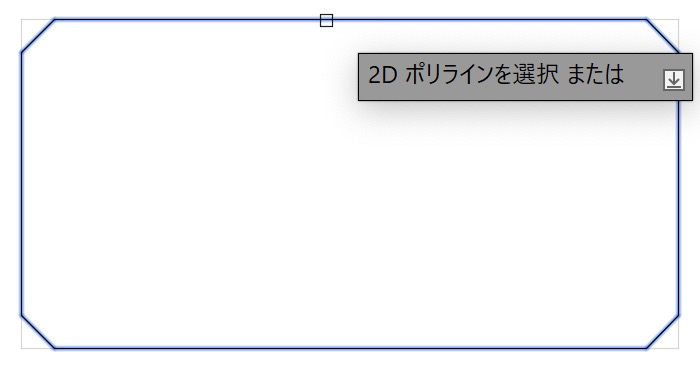
ポリラインを選択します。
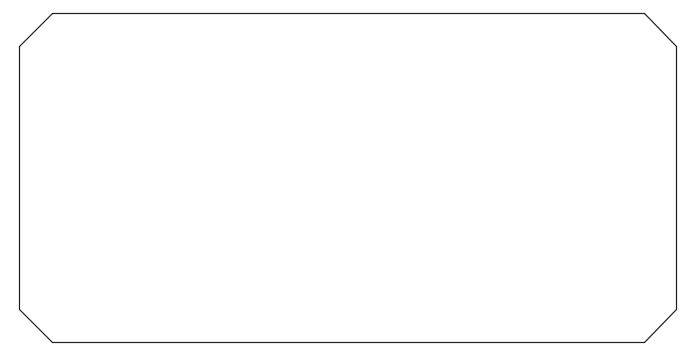
これで、ポリラインの各頂点を、一度に面取りできました。
面取りコマンドのトリム オプション
フィレット コマンドと同様に、面取りコマンドにもトリム オプションがあります。
初期設定では、トリムの設定になっています。
非トリムにしたときに、どのようになるのか見てみましょう。
面取りコマンドを実行します。
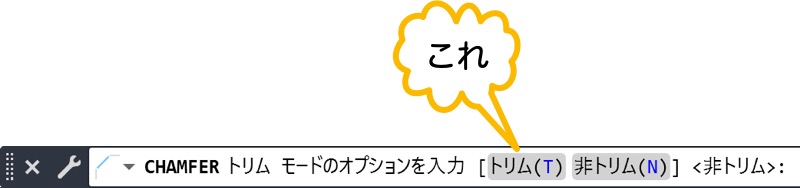
トリム をクリックします。
非トリム をクリックします。

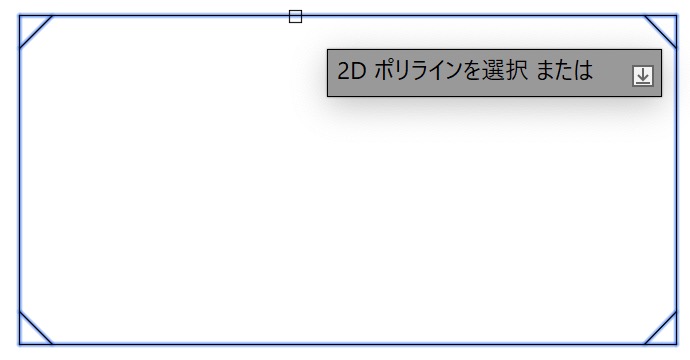
ポリライン をクリックします。
ポリラインを選択します。
これで、トリムせずに面取りを行えました。

面取りコマンドで、オブジェクトを延長したりトリムする
フィレット コマンドと同様に、面取りコマンドで、オブジェクトを延長やトリムして接続できます。
たとえば、以下のような図形があったとします。
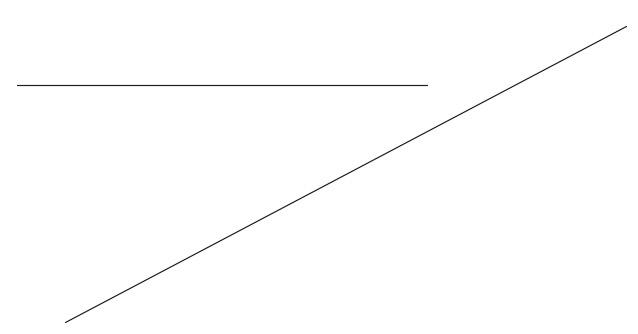
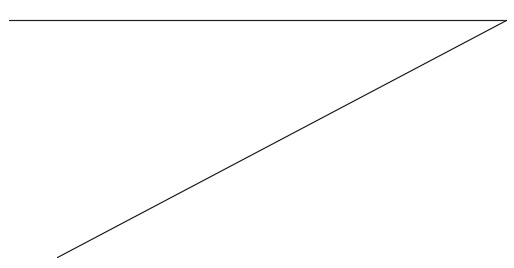
これを、以下のように延長やトリムして接続できます。
では、操作手順を見てみましょう。
面取りコマンドを実行します。
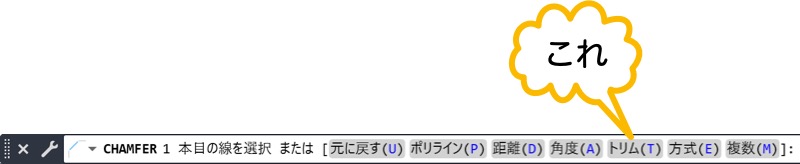
トリム をクリックします。
トリム をクリックします。
Shiftを押しながら、1 つ目の線分を選択します。(※ 選択した後もShiftは押したまま)
Shiftを押したまま、2 つ目の線分を選択します。
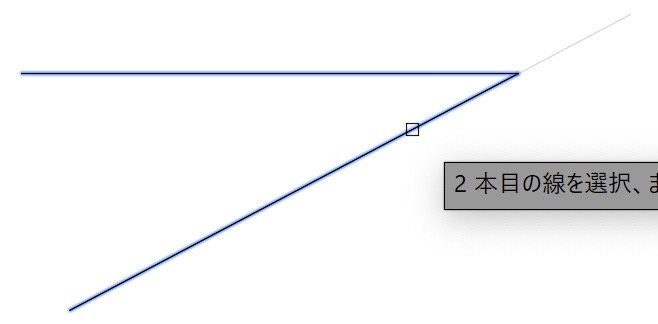
これで、ひとつの線分を延長して、もうひとつの線分をトリムして、2 つの線分を接続できました。
まとめ
フィレット[FILLET]コマンドで、フィレットできました。
面取り[CHMFER]コマンドで面取りできました。
これらのコマンドは、よく似ています。
ポリラインの頂点を一度に処理できたり、トリム オプションがあります。
また、Shiftを使用すると、2 本の線分を延長したりトリムして接続できます。
オブジェクトの角の処理を行うときは、今回の内容を思い出してくださいね。